“There is no greater devotion than to lay one's life at the Maker's feet. There is no better death than to take the blow for another.” ―Grand Cleric Elthina
The Last Straw is the final main plot quest in Dragon Age II during Act 3.
The tension between Knight-Commander Meredith Stannard and First Enchanter Orsino has reached the tipping point and Meredith wishes to lock up all the mages and search the tower from top to bottom, accusing Orsino of harboring blood mages. The Champion must intervene and choose a side.
Acquisition
The Champion receives a letter ("The Last Straw") from either the first enchanter or the knight-commander at their Writing Desk in the Hawke Estate. This depends on who Hawke supported during their earlier confrontation, although Orsino's letter will be sent if none was chosen.
Accepting this quest makes it impossible to return to the Gallows Courtyard to complete any quest (e.g., Herbalist's Tasks). Traveling to the Gallows is a point of no return: make sure you've completed any remaining quests and prepared yourself adequately for the final events of the game.
Walkthrough
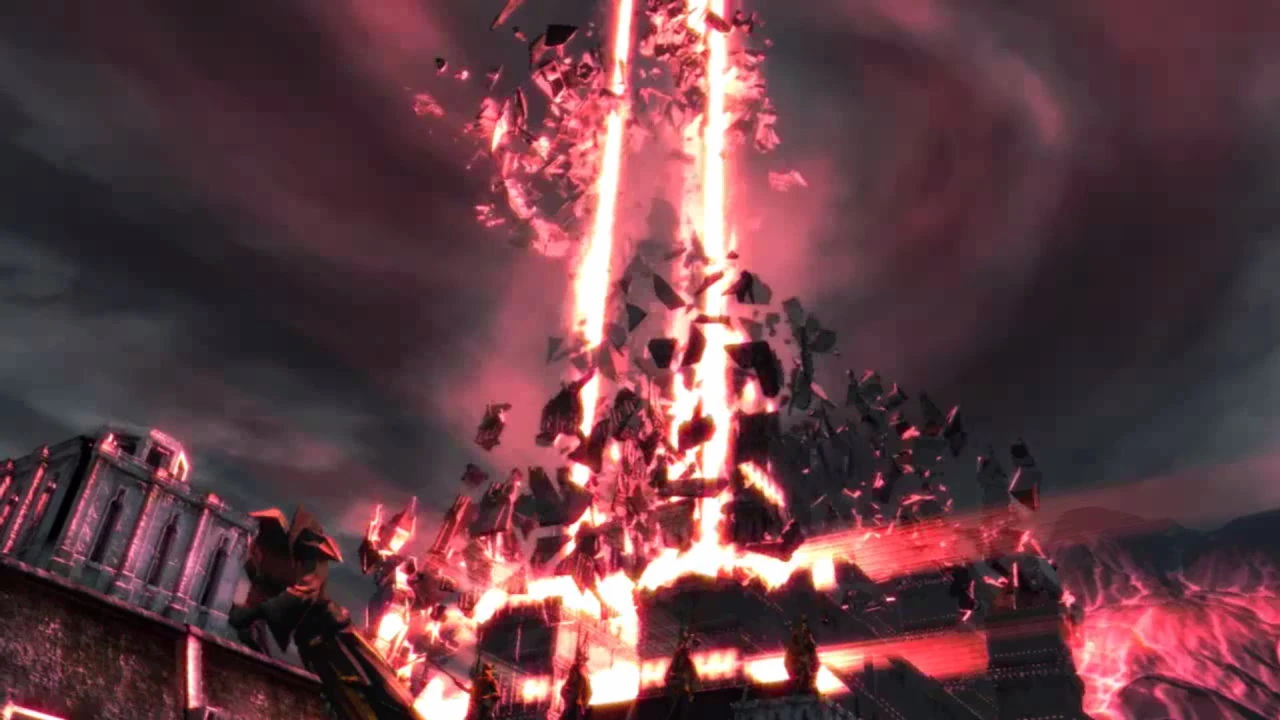
Destruction of the Kirkwall Chantry
Upon arriving at the Gallows, a mage or a templar will inform you of what's going on. You and your companions travel to Lowtown where Meredith and Orsino argue about him allegedly harboring blood mages and her having the tower searched for them. Bethany or Carver will appear at their faction leader's side if you did not take them to the Deep Roads in Act 1. Orsino will threaten to take the matter to Grand Cleric Elthina to be resolved once and for all when Anders interrupts, telling them the Grand Cleric cannot help them now, and shortly afterwards Kirkwall's Chantry is destroyed by an explosive placed by him. This provokes Meredith to invoke the Right of Annulment to every mage in Kirkwall's Circle, even though they were not involved with the apostate mage Anders' actions. You must then choose to side with either Meredith and the templars, or Orsino and the mages. Whichever choice you make will cause dissent in your party:
- If you agree to side with the templars then Bethany (if she became a Circle Mage), Isabela and Merrill will disapprove.
- If you agree to side with the mages then Aveline, Carver (if he joined the Templar Order) and Fenris will disapprove.
Isabela, Sebastian (unless you refuse to kill Anders) and Varric will not leave regardless of your decision to side with either faction and their personal feelings towards the conflict between mages and templars. Any dissenters that are not fully loyal to you (either maximum friendship or rivalry) will then leave your party if you press ahead with a choice that they do not support. Moreover, you must have completed their personal quests to prevent them from leaving.
Once you choose a side, a fight ensues with either the mages or the templars that are present. If Bethany or Carver are present, they will leave and will be available to rejoin the party prior to the final battle if they are on the same side as you. You will be assisted by either Meredith or Orsino (depending on who you sided with), and any companions who are not in the active party. Anders will not participate in the ensuing battle regardless of his relationship with Hawke. Once the battle is over, Meredith or Orsino will leave Anders for you to deal with.
You can choose to let Anders go, kill him, or take him with you no matter whether you side with the templars or the mages, but he will ask you to kill him. If you ask your companions what they think you should do with Anders, Fenris will say to let him die, and Merrill will tell you to make him fight to make up for his crime. If you sided with the templars, you may need to have full rivalry with Anders for him to show regret and agree to fight with you against the mages to make up for his crime. If you sided with the mages and let Anders go, he will turn up later at the Gallows prior to the final battle. Regardless of which side you have chosen to support, Sebastian will abandon you if you don't kill Anders, returning to Starkhaven and vowing to one day gather an army to raze Kirkwall and hunt him down.
Once that's done, make your way through Lowtown to the Docks, fighting groups of mages or templars on the way. Additionally, you'll face several groups of demons.
Once you get to the docks, you'll face a blood mage and a large group of shades, including a pride demon. The blood mage should be killed right away to avoid being hit with their draining spells. Avoid the pride demon's swirling vortex spell, as it can trap you, deal heavy damage, and leave you open to be ganged up on by the shades. Have your tank lure the brunt of the shades while your ranged attackers deal with the demon.
When you are done, look for an Enigma of Kirkwall note to the right. Head down to the ships and you'll be on your way to the Gallows. When you get there, the mages will be fighting off the templars from the steps. Orsino then calls for a truce: he and Meredith approach to discuss the situation. You will have an opportunity here to persuade any companion that did not side with you at the beginning of the quest to join your side. Meredith will then tell Orsino to prepare for battle, and the mages will retreat into the Gallows.
This will be your opportunity to speak to your remaining companions about the final battle. If you are on the same side as your siblings, they will rejoin the party here. If you are involved in a romance, following through with the romance options will complete the romance and will earn you the Romantic achievement. This is also your chance to prepare for battle. Once you are done, speak with Meredith or Orsino to begin the battle. If you are with the mages, and you let Anders live but did not ask him to join you then, he will appear now and ask if he can join the upcoming fight. You may either accept his aid, having him become a member of your party again, or reject his help, causing him to leave for good.
If you sided with the templars, you will have to fight your way into the Gallows, facing mages as well as demons. If Anders was allowed to live, he will appear and taunt you before attacking, and you have to kill him. If Merrill leaves your party because you sided with the templars and could not convince her to support your decision, you will also have to confront and kill her. Once you get inside, you'll find Orsino, who uses blood magic to transform himself into a harvester that you have to defeat, with Meredith and some templars aiding you. Once the battle is done, Meredith tells you to meet her outside.
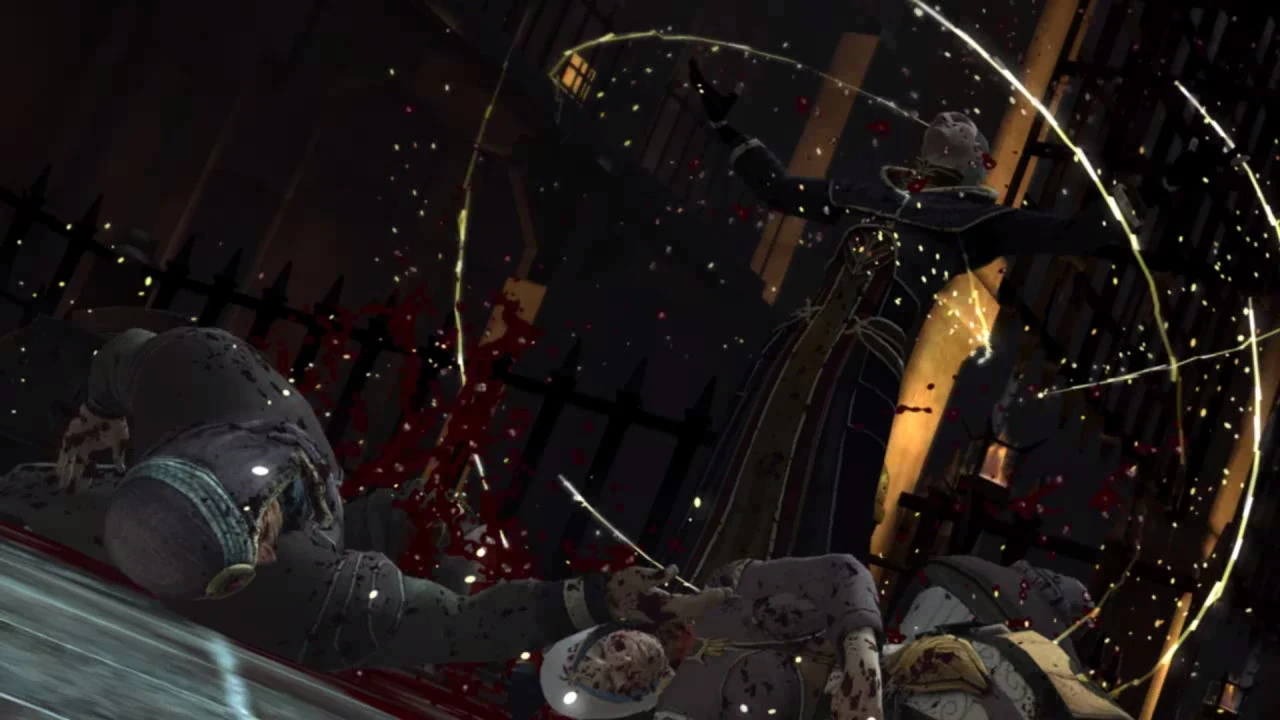
Orsino turning to blood magic
If you sided with the mages, you will face several waves of templars in the inner chamber with help from the allies not in your active party. Orsino will then use blood magic to transform into a harvester, causing you to fight him as well as the templars. When the battle is done, you will have to fight your way out of the Gallows. On the way, you will face several groups of demons. Going west from the central courtyard will cause you to face abominations and two pride demons that you would not otherwise have to fight.
In the chamber before returning to the courtyard, you will come across Sandal. This is your last chance to buy or sell wares, retrieve or stash your items, and enchant weapons and armor before the final battle, so prepare well. Note that Sandal will appear twice in the templar campaign, the second time being in the chamber where you fought Orsino. From here, you will then have to fight through several waves of templars en route to the courtyard as part of the mage campaign. If Aveline leaves your party because you have sided with the mages, you will encounter her and a few city guards just before you walk out of the building and into the courtyard. She will however defy the templar commander's orders and refuse to attack you, stating that while she owes Hawke her life, she now wants nothing further to do with Hawke and leaves with her guardsmen in a fit of anger and frustration. You will also encounter Fenris later on if he leaves your party, but in this case you are forced to fight him to the death.

Meredith accusing her templars
Meredith invoking the power of her sword
When you get outside, Meredith will be waiting with the rest of the templars. She orders your execution at this point, but Cullen will object, saying that they were only supposed to arrest the Champion. Meredith pulls out her sword, which is made from the lyrium idol that Bartrand had taken and then sold. She begins casting suspicions on all of the templars around her, then turns her weapon to Hawke and orders their execution. Cullen rises to your defense, as does Carver if you have sided with the mages, leading to Meredith becoming hostile.
During the ensuing battle against Meredith, you can have up to eight active allies. Note that some allies are mandatory, and some appearances hold precedence over others in the following order:
- The three members of your active party.
- Cullen, who is mandatory in this battle.
- Your Dog. (If you want to see some of the other allies below, you may want to send your Dog away for this battle.)
- The remainder of your companions in the following order of priority, minus whoever is already included in your active party and those who have sided against you before this point: Bethany/Carver, Varric, Anders, Aveline, Fenris, Isabela, Merrill and Sebastian.
- Three other appearances are possible, if you have completed specific quests: Donnic Hendyr appears if you completed The Long Road and he married Aveline, provided that she is in the party. If you completed A Murder of Crows and spared Zevran Arainai, he will also come to your aid (only if either Isabela or Varric is within the party). Nathaniel Howe will also join you if you completed Finding Nathaniel.
As Meredith moves across the battlefield, she will create fire trails straight toward the player-controlled character that will deplete mages of their mana if the trails touch them. Partway through the battle, Meredith will leap from the battlefield and start bringing the Gallows statues to life (Gate Guardians and Slave Statues). Once they are defeated, Meredith will come back down. As her health diminishes, she will continue to summon more Slave Statues, as well as reviving the Gate Guardians in a new spider form while still on the battlefield. Once her health gets low enough, she uses an ability that stuns everyone on the battlefield, including enemies. During these times, she will be talking, not attacking. She might also grab the companion you are in a completed relationship with and ask how it feels to see her hold what is dearest to you. This happens several more times until Meredith falls.
Notable items
Result
- Main article: Mage-Templar War
Meredith attempts to call upon the Maker to give her power in her last effort to defeat the Champion, but the lyrium sword breaks and she screams as the lyrium seeps into her, turning her into a statue. After the templars briefly examine the statue, Cullen and his men either back away and allow Hawke and his party to leave if they have supported the mages, or they bow before him and his party if they have supported the templars.
The tale of the Champion's opposition to Meredith and her actions toward the mages are spread by the survivors to all parts of Thedas. No matter who the Champion sides with in the final battle, Hawke's name becomes a rallying cry for the mages. This sparks a successful rebellion at all the Circles against the Chantry, which it eventually loses control of. The templars also leave the Chantry to fight the mages in their own way.
If Hawke and the companions supported the mages, they will all leave Kirkwall before more templars arrive to restore order. If they supported the templars, Hawke will become the new viscount of Kirkwall, only to leave later on. Eventually, Varric says, all the companions left Hawke's side due to various circumstances, except Hawke's romanced companion, if any. The Seekers continue to look for the Champion, hoping that Hawke can serve to bring peace to Thedas. The ultimate fate of the Champion remains unknown, but Varric tells Cassandra that he doubts Hawke is dead.
Bugs
- In the conversation between Meredith and Orsino on the steps of the Gallows, Orsino's robes and Meredith's armor may not fully render. This may persist through the final fight, along with a lack of textures on large parts of the environment.
- After defeating Orsino, the cutscene for killing Orsino may loop indefinitely. Simply skip through it to continue the quest as normal.
- If an additional romance was initiated but not pursued, Varric might say both names simultaneously as he narrates the epilogue.
- If you started a romance with Anders, yet killed him after the Chantry explosion, Varric will still tell in the epilogue that Anders never left your side.
- It can happen that you don't meet your sibling in Lowtown. Most likely, this happens if you take the small passage next to the southern stairs next to the meeting area.
- During the Orsino battle, there is a chance that a templar will get stuck behind the wall of fire, causing tactical glitches and preventing the fight from ending. However, if you have summoned Dog beforehand, you can get lucky, and have him get stuck there as well, in which case he will probably end up killing the templar. Area of Effect spells or abilities will also kill this templar.
- Also during this battle, if Bethany or Carver are fighting on your side, their hair may display as white.
- If Orsino is killed too early on in the battle, there is a chance that the killing cut scene will not initiate and the barrier will not disperse, thus leaving the player stuck in that area. The only way to remedy this is by loading a previous save - luckily there is an autosave just before the Orsino battle begins.
- If you are fast enough and press the action button to talk to Orsino after halting the Templars breach of the compound, you can initiate the conversation where he asks whether you're ready to fight. This could give you the opportunity to reform your party before the fight with Orsino. That being said, the cutscene of you making your pre-battle speech will show with cut-ins from Orsino turning into a Harvester.
- A companion who is not in the active party may disappear during the fight with Orsino and not reappear after the battle (confirmed with Isabela on PC and PS3). However, they are not permanently dead, as they will join you again for the fight with Meredith.
- During the Meredith battle, some NPC allies will spawn behind the closed gate leading to Kirkwall (confirmed with Donnic on PC, version 1.02). They will be unable to join you in the actual battle.
- In the battle against Meredith and the statues the game may freeze when one of the statues leaps into the air. The only way to prevent this seems to be to not attack that statue till it completes it jump.
- If you damage Meredith fast enough, the cutscenes where she animates the statues do not have a chance to fire, and she ends up stuck at 1 health forever, unable to die. To solve this, just don't damage her so quickly.
- If Fenris initially dissented (you siding with the mages), but later rejoined if convinced, he will still appear with the templars in the cutscene before Orsino's harvester transformation.
- When the three mages surrendered and you replied their fate is not your decision, they will be executed by untextured flying templar helmets (Xbox 360).
- (PC confirmed) (Female Hawke confirmed) (Un-patched version of the game confirmed) When it comes to choose sides (with mages or templars), if you choose the mages, nothing will happen with your companions. You will still have all of them (except Anders, if you killed him and Fenris, if you haven't convinced him to re-join you) helping you in both fights, with Orsino and Meredith.