Malvernis is a unique entity within Thedas, it is seemingly a Demon of some kind but even this is not known for certain. Malvernis attacked the dwarves first but eventually came to the surface. Malvernis initially takes on the form of a humanoid mage, with a long black robe with white trim, and a black cowl which obscures its face and is capable of creating spectral Skeletons to attack its enemies. Malvernis is also capable of transforming into a strange spectral version of a High dragon.
Background
What little is known of Malvernis is detailed in three codex entries found in Vimmark Wasteland:
![]() Codex entry: Amgeforn the Foul
Codex entry: Amgeforn the Foul
![]() Codex entry: Amgeforn the Wasteyard
Codex entry: Amgeforn the Wasteyard
![]() Codex entry: Amgeforn the Lonely Vigil
Codex entry: Amgeforn the Lonely Vigil
It is revealed in these entries that Malvernis was a being of death, decay, and pestilence that once encountered the dwarves. Witnessing its 'hunger', and fearing that it threatened the Stone itself, they chained it in lyrium inside an orb. The Paragon Ilona issued a decree that a lone warrior from each generation would maintain a vigil until death, such that the orb never leave the Wasteland and Malvernis never be released.
Involvement
Strategy
Party Composition
This fight heavily favors a ranged party setup. If the party is melee heavy, Malvernis will cast AOE spells centered on the melee characters engaging it at melee range. Melee fighters will find it much harder to dodge them and since Malvernis will not take friendly fire damage from its own spells, can stand in his own AOE and be immune to your party's melee attacks. The AOE spells are capable of one shotting most non tank characters.
With a party comprised of 3 ranged characters and one tank (preferably Aveline), Malverni's arcane horror form will cast spells centered on your ranged characters. They are easy to dodge and only the swirling red vortex should damage your characters before you can move out of the AOE. If you are playing a mage Hawke, take Anders and make sure both mages have upgraded heal as this will be very important in keeping your party alive, as potions will not cooldown fast enough. Both mages should have fully completed elemental trees in order to AOE the phantom archers and deal maximum damage with cold spells against the high dragon form. Heroic Aura will help greatly in increasing the hit % of attacks vs Malvernis (note : having two mages with Heroic Aura will not cause it to stack).
Aveline should have shield defense and immovable active to mitigate as much damage as possible from the high dragon phase, and fire resistance items or will help a lot. During the high dragon phase, it is important to keep the dragon faced away from the ranged characters to avoid having them hit by the fire breath attack. When the mass firestorm is active, keep the ranged characters at the battlement gates to avoid being hit by the firestorm while Aveline positions the dragon so that it faces away from the party.
All characters should have cold runes in their weapons as the high dragon is weak to cold.


Malvernis in human form
It is highly recommended to be at a high level, for this fight is very difficult for weaker characters. Carver with a full Templar tree (especially Annulment) or Fenris, Varric, and Anders make very useful companions for this fight, and using Runes of Fire and/or Lightning and Spirit Warding in their armor is the best way to avoid damage. Priority goes to Fire Warding, then Spirit, and finally Lightning, depending on how many rune slots are available. Urzara's Tooth provides somewhat decent fire resistance for Hawke in lieu of runes. For staves, bring those that deal spirit and cold damage, ready to swap them on your Elemental Weapons mage. Having both Bloom and The Celebrant in your inventory, ready to swap onto your Two-Hander at any time, are also recommended, though they're not available until Act 3.
Archers (Phase 1)
The battle begins with a black hunched-up entity spawning in the arena grounds, which begins summoning a host of 'Ghostly Archers' onto the platforms surrounding the arena. A good strategy is to rush one platform as soon as you activate the Obelisk and quickly wipe all the archers out with AoE attacks. Tempest is likely the best attack you can use, wiping out 6 archers at a time while keeping your melee characters safe from friendly fire. They are vulnerable to spirit damage, so add that element to every attack you can (hence the use of The Celebrant). Then, if necessary, you can move the party to the stairway leading up to the platform and close the door. The archers from the other side will not be able to hit you. That will give your party the opportunity to heal and reset the cooldowns before attacking the other side. If you take too much damage running across the arena, it's possible to position your party right next to the stairway wall on the other side, where it will be out of line-of-sight as well.
Magister (Phase 2)
Once the Ghostly Archers have been defeated, Malvernis will unfurl and begin attacking. From now until the next stage he will summon Ghostly Skirmishers to attack you. He will summon several waves of three Skirmishers each, either until he is reduced to 3/4 health (see below) or he's summoned enough of them (around 6-7 waves). The Skirmishers are also vulnerable to spirit damage, allowing a Hasted Two-Hander to mow through them without even using his abilities, which can put your allies at risk in tight quarters. If you don't have the damage output to rip through them immediately, a good strategy would be to have a ranged character kite Malvernis while the rest of the party deals with the skeletons. Make sure that that character is the only one getting aggro on Malvernis, and never stand still for more than a couple of seconds. Most of his attacks are AoE, and getting caught right in the middle can frequently kill even a tank in one shot. Also, when Malvernis teleports, he can sometimes switch aggro to the character closest to him. Generally it's a good idea to keep that character in motion as well until you figure out who he's targeting. Finally, huddling up against the red auras on the far left and right sides of the battlements may put enough distance between you and Malvernis (while he's standing in the lower arena) that he won't target you at all, allowing you to deal with the Skirmishers.
An alternate strategy is to move all range fighters to the rafters when he changes and position 2 near the trap trigger, keeping him near the spikes will net you at least 20% of his health with each hit. in 4 or 5 uses he will be defeated but if you do not finish the demons he summons off the battle won't end and his spells will continue.

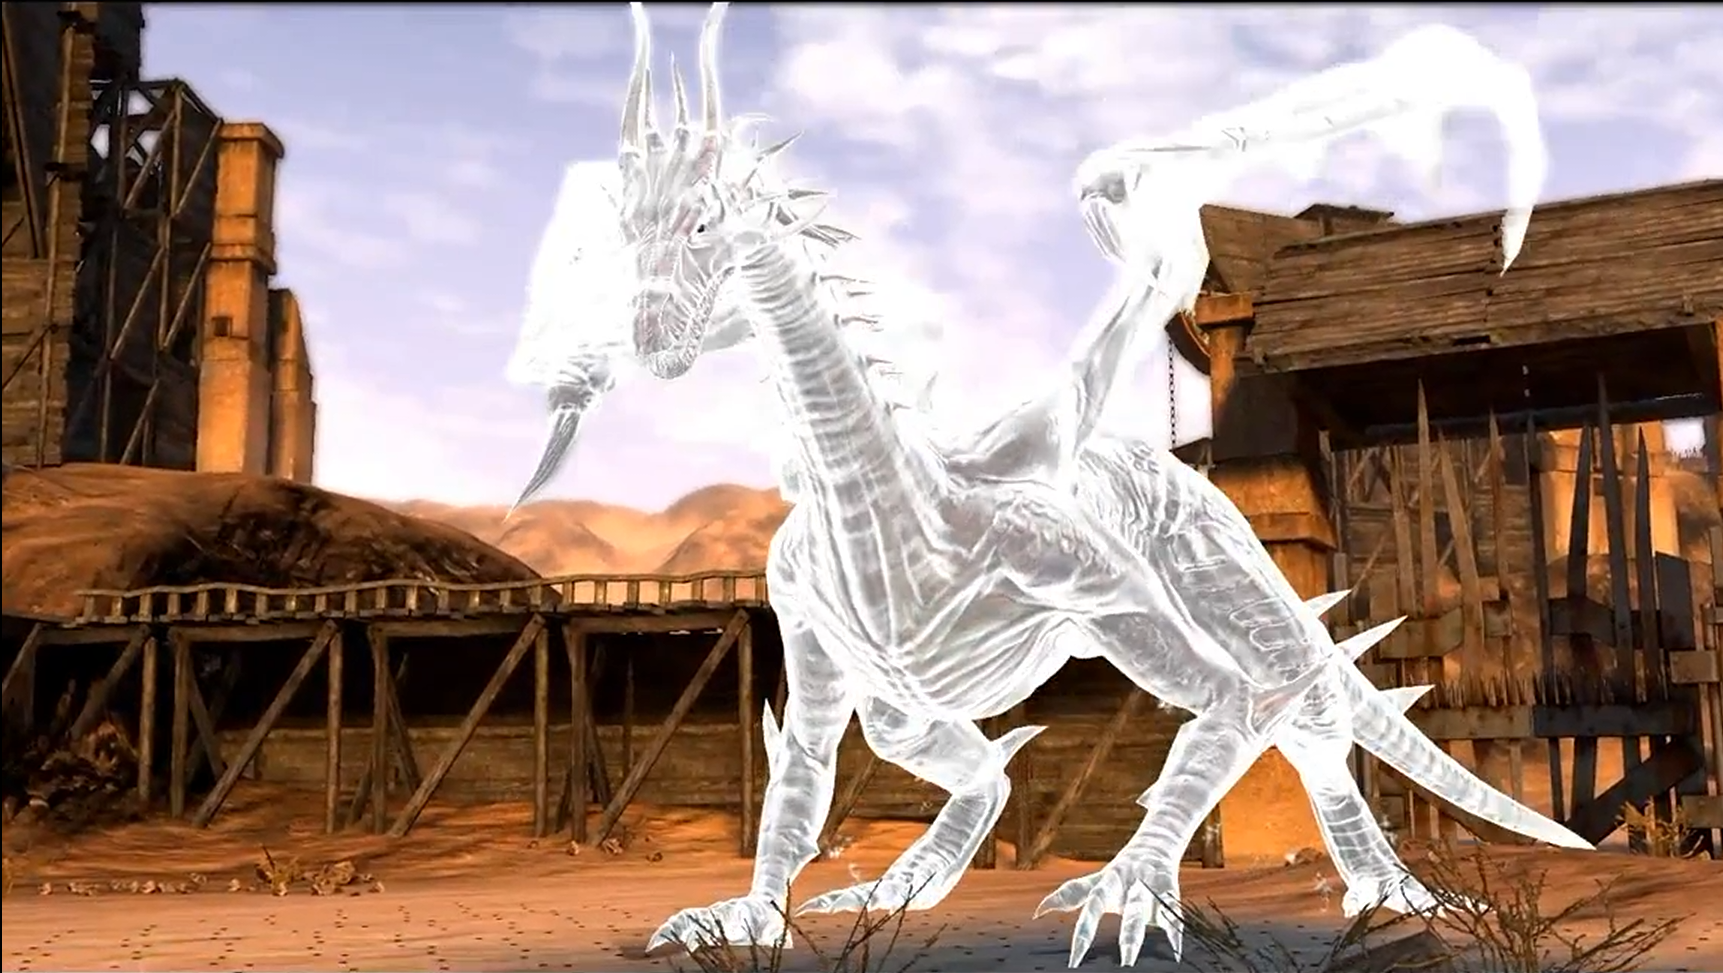
Malvernis in dragon form
Spectral Dragon (Phase 3)
When his health reaches around 3/4 of the bar, Malvernis will transform into a ghostly high dragon. This is now the same as battling a high dragon. Defeat him using similar tactics as those in tactics, but there a couple of things to note. First, you can move as a team to either battlement and trigger the trap, which will take off about 15-25% of his total health (and considering he's lost 1/4 already, he'll be down to about half). You may only get one use of this before he leaps up to join you. Another thing to note is that he will cast a Mass Firestorm, which is very difficult to avoid (especially when managing four people at once) and will likely kill anyone without adequate fire resistance, which is why Runes of Fire Warding are so invaluable. Despite this, the safest place to be is the battlements, at the doorways and up against the red auras, since the fire will rarely strike there. When the storm fades, you can tank him with a warrior and keep wailing on him with cold weapons (like Bloom) and spells. The battlements also make it very difficult for Malvernis to move in his oversized state, which given everything else in this phase makes it the safest way to battle him.
Rewards
Around 9,000 XP for defeating it