- For the Orlesian "Grand Game", see The Grand Game.
The Game is the main quest in the Leliana's Song DLC for Dragon Age: Origins.
Walkthrough[]
Denerim Market District[]
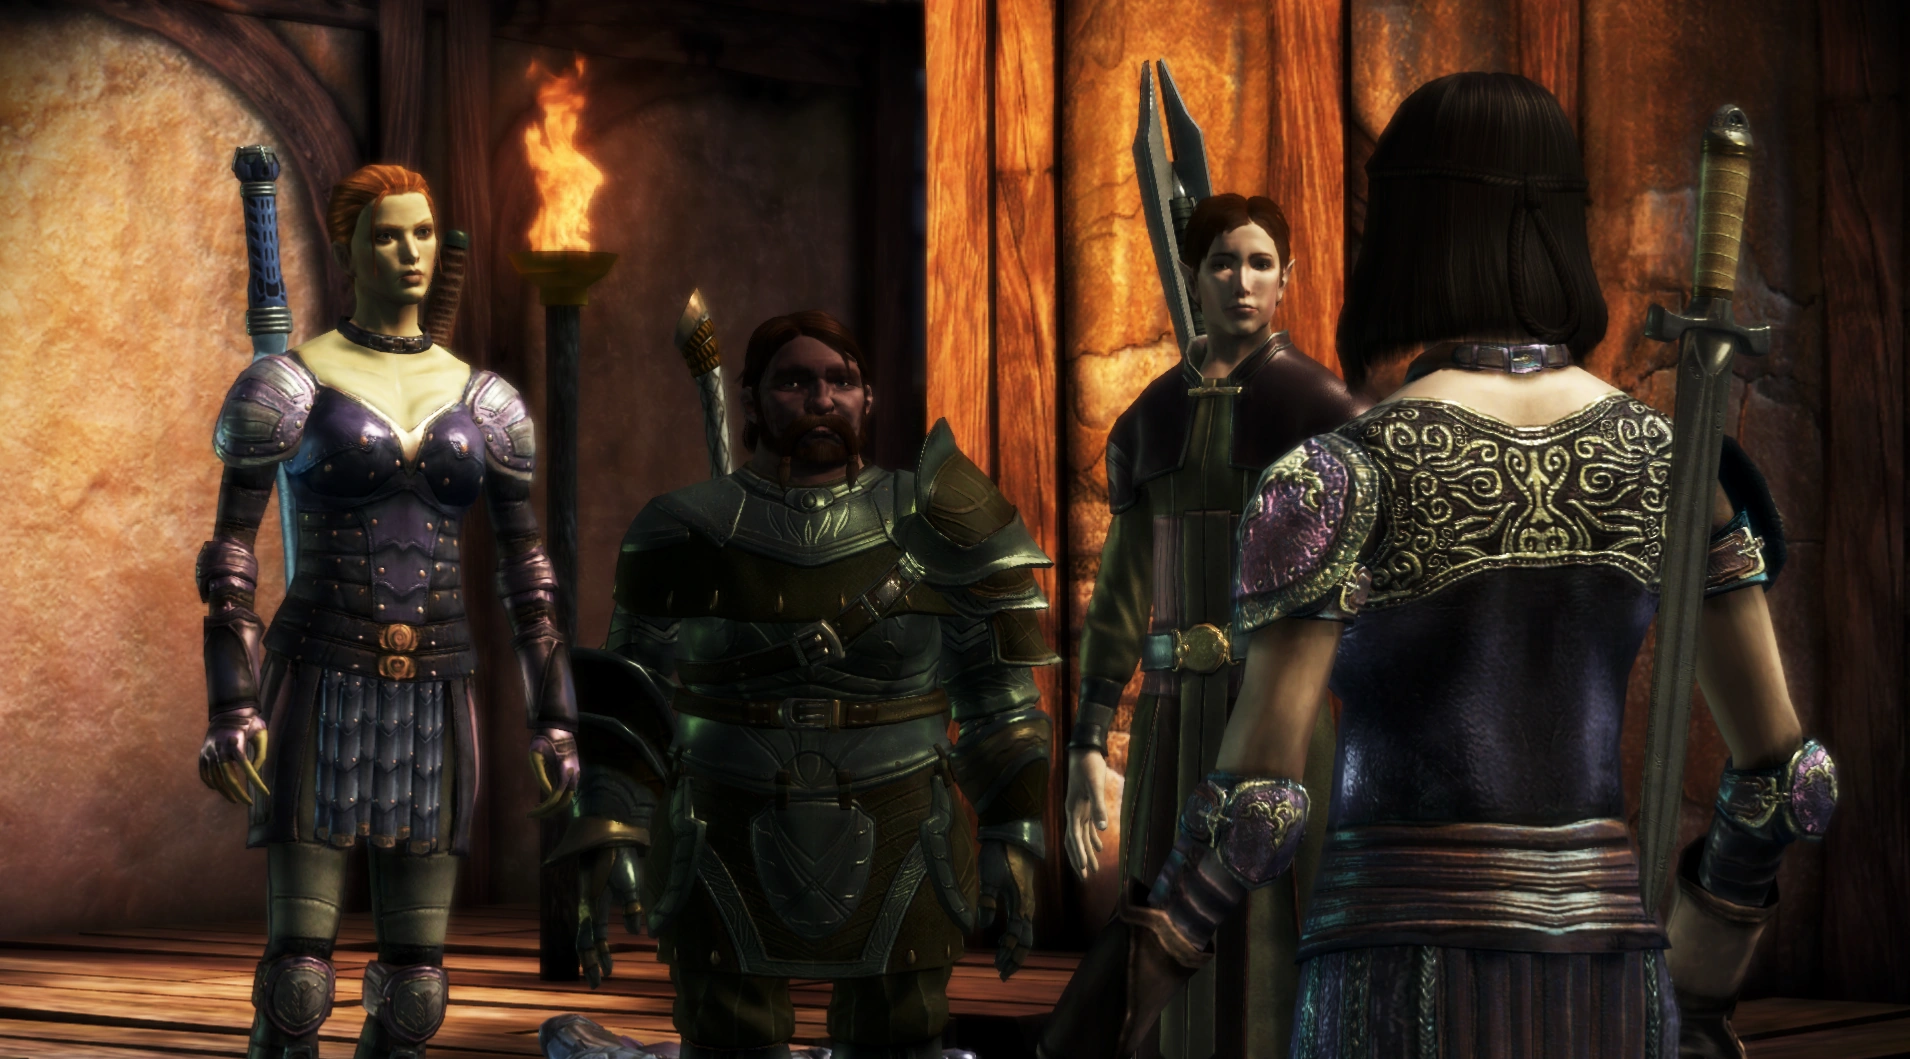
Beginning in the Denerim Market at night, three contracts must be completed in order to progress. Marjolaine has tasked Leliana, Tug, and Sketch with completing three tasks in the market before they can proceed.
Initially the Denerim city guard will ignore you and permit you to go about your business, however once you carry out any illegal action, they will begin attacking you on sight. If you eliminate all the patrol teams in the market then the Night Captain and three City Guard Elites will enter from the Alienage Gate and attack. A good tactic for this is to lure the Captain away from her guards (she can spot and head for you before her companions do), deal with her separately, and the dispatch the rest of the guards. Once the Night Captain is killed she drops a Denerim Guard Shield and Gold Ring.
There are also several crates scattered around the marketplace which contain loot, as such this may be the best time to collect them. The first is in the northwest corner of the marketplace, the second is near the Gnawed Noble Tavern entrance, the third outside the gate to the Denerim Alienage and the fourth is by Bann Perrin.
Three chests around the central market stalls contain items which can be stolen. There are multiple ways to resolve the quest but all that is required is that all 3 chests are emptied.
Jovi Merice is hiding in the alley in the south of the center market. Kill him and dispose of his remains to complete the quest.
The Bann can be found in the north-eastern corner of the Market District, just past the open gate. Defeating him and his guards will yield the incriminating evidence required, afterwards simply place it on the Denerim Cathedral noticeboard to complete the quest. There is also a collection plate nearby with some silver and bronze in it which can be looted to buy supplies and will provide some additional dialogue later.
There are also two optional quests
There are two clues hidden in the marketplace, one by the alley where you begin and the other southwest by a pile of planks. Once these have been found, you may collect the cache opposite the Alienage Gate. Once you get near however you will be attacked and forced to defeat a Mage and Golem.
Each quest which composes the market section adds one item which can be placed on Guard Captain Eams to further incriminate him. You must place every possible item on the Guard Captain to unlock the achievement.
Once you complete all the sub-quests, Marjolaine will appear. Bonny Lem will also emerge, giving you a chance to buy and sell equipment. Speak to Marjolaine again to advance.
Arl of Denerim's Estate[]
Once you arrive at the Arl of Denerim's Estate head down the path. A codex entry can be obtained from the three statues on the right. Eventually you will be attacked by an Elite Soldier and a Mabari. Afterwards collect the corpse. Keep heading down the path until you face off with two more Elite Soldiers, one of which always uses a ranged weapon. Deal with the melee enemy first as he is the larger threat, then focus on the other. Grab the bodies and bury them in the garden to keep from being discovered. From there turn into the small alcove and use the window to enter the interior.
The room to your right is the torture room which you can enter for some additional dialogue. Head upstairs and you will be attacked by a Soldier, an Off-Duty Soldier, and an Elite Soldier. Focus on the Elite and Soldier first, being the largest threats, then the Off-Duty Soldier, a much easier foe without his armor.
Head through the next room and you will emerge into a corridor with a locked metal door directly across from you. Picking it and the iron chest inside is no trouble and you are rewarded with a Ruby, two Sapphires, three Topaz, another Masterwork Leather Piece, and some Currency. Head back out into the corridor and turn left. While passing a door on the right you will hear an argument between Arl Urien Kendells' son, Vaughan, and a servant. In the room ahead, you will encounter a Soldier, a Crossbowman, and a Sergeant. Deal with the three as you will and then search the corpses for a Set of Keys.
In the next hallway you'll briefly see Marjolaine wooing the Guard Commander and leading him away from the Master bedroom. From here you can proceed straight to the Master bedroom or Clear out the remaining rooms. The right one is occupied by two Soldiers and two footlockers. The left one is a library and contains a Soldier and two Mage Mercenaries. The Mages are the biggest threat to your party, so focus on them first. Once they are all down, loot the bodies, and inspect the War Journal in the corner for a Codex entry. You may also walk slightly past the bedroom to trigger an additional dialogue with Tug. Inside the master bedroom there is another codex entry as well as another Masterwork Leather Piece in the ornate chest. (Note: These must be obtained before you plant the papers.)
Hideout[]
Once inside the hideout you can trade with Bonny Lem or talk to Sketch and Tug, for further dialogue. There are also several codex entries scattered around. Afterwards talk to Marjolaine to continue. Once this is done you can examine Marjolaine's Satchel for a final codex entry before you leave.
Arl of Denerim's Estate Revisited[]
Starting in the Arl's bedroom you may access the two rooms in the adjoining hallway but must then go through the other wing of the estate.
Several Off-Duty Soldiers from the two rooms on either side of the hallway will attack here. Because of the confined space, using Cone of Cold is extremely effective here. Once the Guards are defeated, there is a footlocker in both rooms. Loot them both. Keep heading down the hallway, past the second set of doors. The right room has an ornate chest with money, loot, an Emerald, and a Sapphire. The door at the end of the passage leads to a fight with three Crossbowmen, a Soldier, and a Mage Mercenary. The Crossbowmen sometimes retreat towards the mess hall which may alert additional guards. The room off the Hall contains another Masterwork Leather Piece as well as the Weapons Master and three Mabari. Finally head into the Mess Hall where two Soldiers and a Crossbowman are waiting. Afterwards the storeroom on the left has some items in storage. Once you are done, you may exit through the kitchen on the right. Once outside head out across the grounds through the rear garden.
Arl of Denerim's Estate - Dungeon[]
The rucksack in your cell contains the key to the door and a Dragonbone Pelerine Slip-Knife. Equip the knife and head to the door. Head left and you will find Sketch and Silas Corthwaite inside, along with two Dungeon Guards. After use the crank to raise the Portcullis blocking your way, and access the footlocker for all of your confiscated loot. Make sure to equip both Sketch and Silas with appropriate weapons and armor. When you are done, head back out into the hallway.
Three Dungeon Guards, a Mabari, and a Mage will attack you in the next chamber. Try to draw a few back into the corridor as they can quickly overwhelm your party. Once the guards are down to find Tug. The weapon rack in the room holds Tug's Edge (gift), which you can give to Silas or Sketch to complete the quest Honoring Tug.
Head back out into the corridor and the room on your left will contain four more guards as well as another Masterwork Leather Piece. When you have finished, head out and towards the final door. Inside are two Mabari, a Guard, and two more Crossbowmen. Focus on the hounds first then take out the remaining enemies.
Proceed to the end of the hallway, once inside, you will face two more Guards, two Mabari, and a Mage. Focus on the hounds again first, then the guards, and finally the Mage. While the mage can cast spells, his health is limited and the guards and dogs are a more immediate threat. When they've all fallen, head up the stairs.
Chantry[]
Leliana awakens in the Chantry in the City of Amaranthine, north of Denerim. Revered Mother Dorothea will enter and explain. Once you regain control, loot the desk drawer at your right for the last Masterwork Leather Piece which will unlock the Provocateur achievement and add the Battledress of the Provocateur if you collected the other pieces as well. You will have the opportunity to speak to Sketch and Silas as well as a final chance to trade for equipment with Bonny Lem. Once you are ready speak to Dorothea to leave.
Windswept Shore[]
When you arrive, you will briefly encounter Marjolaine and Commander Harwen Raleigh. You will immediately be attacked by a group of two Soldiers and three Crossbowmen. Once they are down, you travel into the canyons.
Canyon Path[]
Just follow the path but be careful as several Sand stalkers, and Sand Stalker Spitters will periodically emerge from the ground once you are close enough and swarm at you. Eventually you will see Raleigh on a plateau ahead of you and then you will be attacked by a pair of Trained Brontos. Once the Brontos are dealt with, head up to where Raleigh was and follow the path, but be ready for a tough fight.
When you come to a clearing, Raleigh will retreat again, leaving a Mage, lieutenant, and five Guards behind, all of them wielding longbows or melee weapons. A good strategy here is to retreat and draw some of the guards away from the mage, who will frequently use Fireball and Lightning. Defeat the guards in turn, then the Mage, then continue along the path.
Blighted Cliffs[]
You will Immediately be attacked by three longbow wielding guards which are best dealt with at close range. As you attempt to cross however you will be attacked by a Dragon, which will take flight each time you cause sufficient damage. Retreating across the bridge and using Sketch's magic to attack can be very effective here. Once across, you will face Raleigh himself and a Mage. Target the Mage first, then focus on Raleigh because the Mage is fond of using support spells and bolstering his ally. Using spells against Raleigh when he isn't being protected is a very good idea. Afterwards you will be may either have Leliana kill Raleigh or let Silas do it.
Strategy[]
Overall, Leliana's Song features harder fights than main campaign does. To name a few: an early non-optional appearance of a tough group that includes a boss rank enemy (Night Captain) can leave the party overwhelmed, while the Arl of Denerim's Estate part of the main quest features a lot of mages, multiple lieutenant rank warriors, and some extremely beefy mabari hounds to boot. The balance is further shifted to the enemies' favor by the fact that none of the party members is optimized (even though Sketch, and, later, Silas Corthwaite offer some decent possibilities for customization) in ability, stat, or gear departments. However, that is not to say the module is extremely hard to complete: in fact, most of the fights can be done solo with limited gear and no consumables, as discussed here.
Please note that if you have specializations unlocked, your party will get a chance to choose one specialization for each class (Leliana, Silas Corthwaite, and Sketch) at Arl of Denerim's Estate - Dungeon, so it might be wise to have the talent/spell point distribution pre-planned, saving some points for specialization-specific abilities.
Result[]
- Heard Leliana's version of her betrayal.
Rewards[]
For Dragon Age: Origins:
 Battledress of the Provocateur, collect all of the Masterwork Leather Pieces.
For Dragon Age: Origins - Awakening:
- Battledress of the Provocateur, collect all of the Masterwork Leather Pieces.